
 公司动态
公司动态2025-03-28·阅读约 3分钟
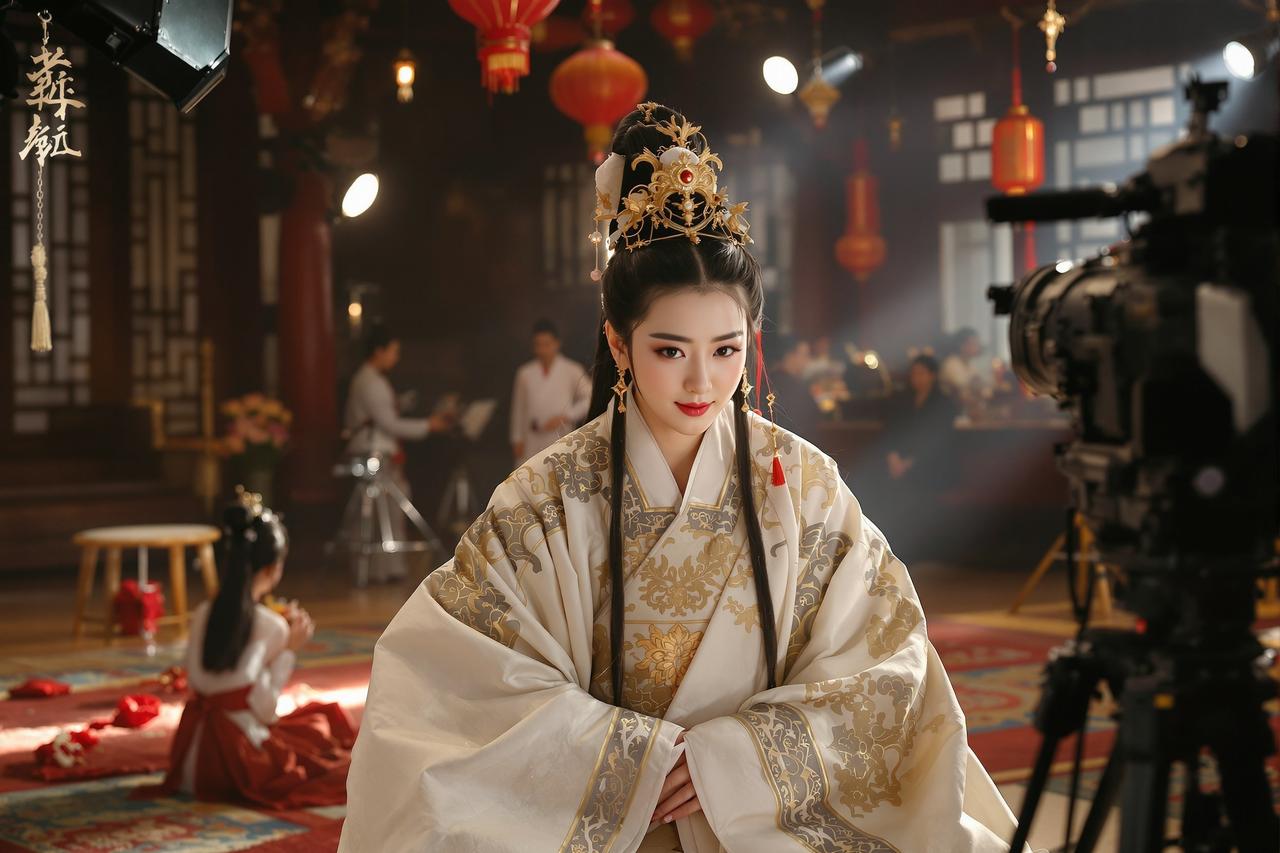
色咪咪影视荣获2024年度最佳传媒公司大奖
在第十二届中国传媒峰会上,色咪咪影视凭借卓越的内容创作能力和市场影响力,荣获年度最佳传媒公司大奖,成为行业标杆。

看了色咪咪影视这么多年的作品,每一部都是用心之作。《繁花似锦》更是让我哭了好几次,演员的演技太在线了!
影迷小雨
资深影迷
色咪咪影视在内容质量上的坚持令人敬佩,无论是剧本打磨还是制作水准,都达到了国际一流水平,为国产影视争光!
电影爱好者
影评人
《光影之间》我已经刷了三遍了,每次都有新的感悟。色咪咪影视的作品有深度、有温度,是真正的艺术品。
追剧达人
忠实粉丝